
Set the exposure to 330, this should be the right setting that will expose the amount of image


Initially I printed out each note individually and then quickly realised it will be extremely time consuming when they are not equally in line.


I decided to print three designs out on two pages so when I print each time three will be created and once in line with each other it will be more accurate as the positioning of the gold layer will have to be precise.

Blank ink first prints drying out. Some have come out rather successful, whilst others have slightly faded edges and aspects. I printed out 5 A3 sheets meaning I have 15 banknotes to work with.
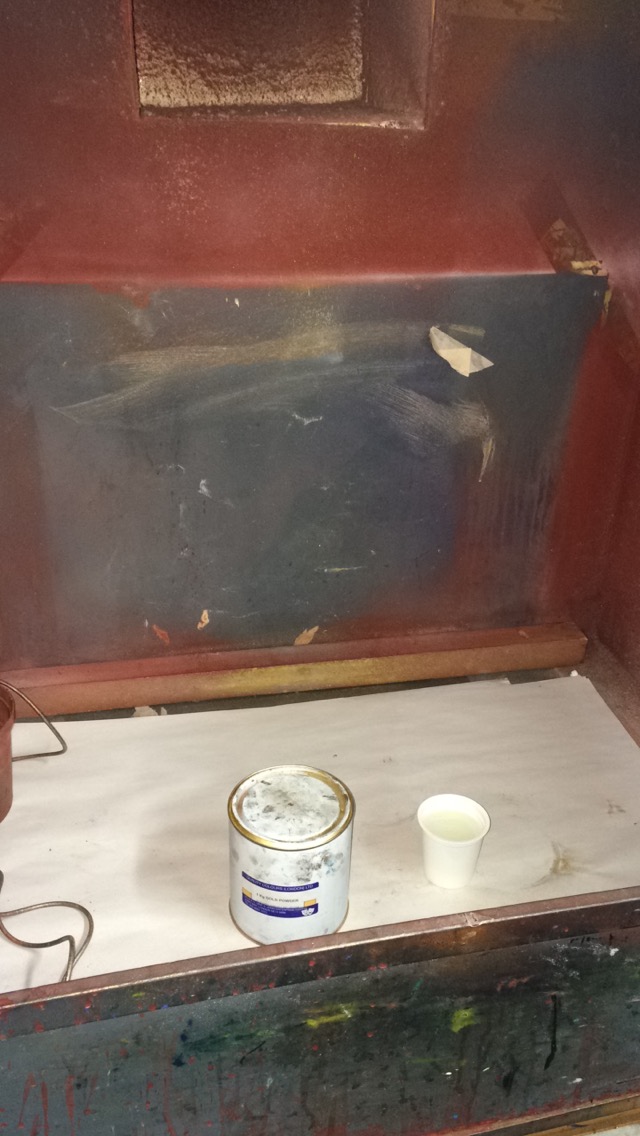
After selecting a gold pigment for my gold layering. I had to mix my pot within a airing cupboard due to the gold going everywhere.


Layering on the gold ink.
One mistake I made during this process was the fact that not all the black ink prints where lined up the same, meaning after I printed my first gold layer accurately, it became difficult t see through the screen to line up the next set. In hindsight I should have taped down each note down before I printed the first meaning with each print I would just remove the top layer to reveal the next - meaning they would all be in line. Due to not doing this a lot of my prints where unsuccessful. As it took time to line up the prints as the ink began to dry on the board and it become difficult get the ink to transfer onto the paper, something even flooding it too much.


Here are some examples of unsuccessful prints.


On a few prints even the black ink was not 100% successful and the alignment of the gold layer was off on some.
No comments:
Post a Comment